As the crisp air of autumn begins to replace the warmth of summer, there’s no better time to cozy up your home with some delightful fall decor. Whether you’re a seasoned DIY enthusiast or just starting out, crafting your own autumn-themed decorations can be both fun and budget-friendly. In this article, we’ll explore creative ideas that will transform your space into a warm, inviting haven without breaking the bank. From rustic centerpieces to charming wall hangings, these easy DIY projects are perfect for adding those cozy autumn vibes to every corner of your home.
Why Choose DIY Fall Decor?
Before diving into the nitty-gritty of crafting, let’s talk about why DIY fall decor is such a fantastic choice. First and foremost, it’s cost-effective. Store-bought decorations can quickly add up, but with a little creativity and some basic supplies, you can create stunning pieces that reflect your personal style. Additionally, DIY projects allow you to customize every detail, ensuring your decor is unique and perfectly suited to your home. Plus, there’s something incredibly satisfying about creating something beautiful with your own hands.
Gather Your Supplies
Before you start crafting, it’s essential to gather all the necessary supplies. Here’s a list of items you might need:
- Natural Elements : Pinecones, acorns, dried leaves, twigs, and branches.
- Craft Basics : Scissors, glue gun, paintbrushes, and craft paint.
- Fabric and Textiles : Burlap, felt, ribbon, and yarn.
- Containers : Mason jars, baskets, and vases.
- Lighting : Fairy lights, candles, and lanterns.
Having these supplies on hand will make your crafting process smoother and more enjoyable.
DIY Project 1: Rustic Mason Jar Candle Holders
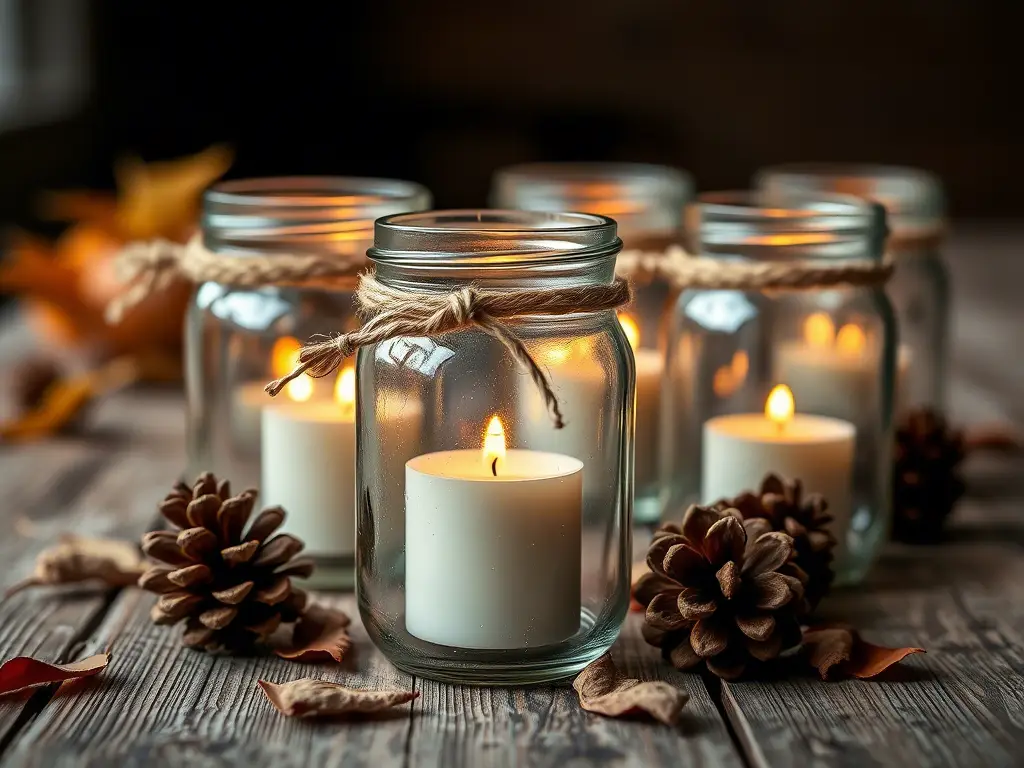
Materials Needed:
- Mason jars
- Twine or burlap ribbon
- Acrylic paint (fall colors like orange, red, and brown)
- Paintbrush
- Tea light candles
Instructions:
- Paint the Jars : Start by painting the outside of the mason jars with acrylic paint. You can opt for a solid color or create a gradient effect by blending different shades.
- Add Texture : Once the paint dries, wrap twine or burlap ribbon around the neck of the jar. Secure it with a dab of hot glue.
- Insert Candles : Place a tea light candle inside each jar. When lit, the soft glow will create a warm ambiance perfect for fall evenings.
DIY Project 2: Autumn Leaf Garland
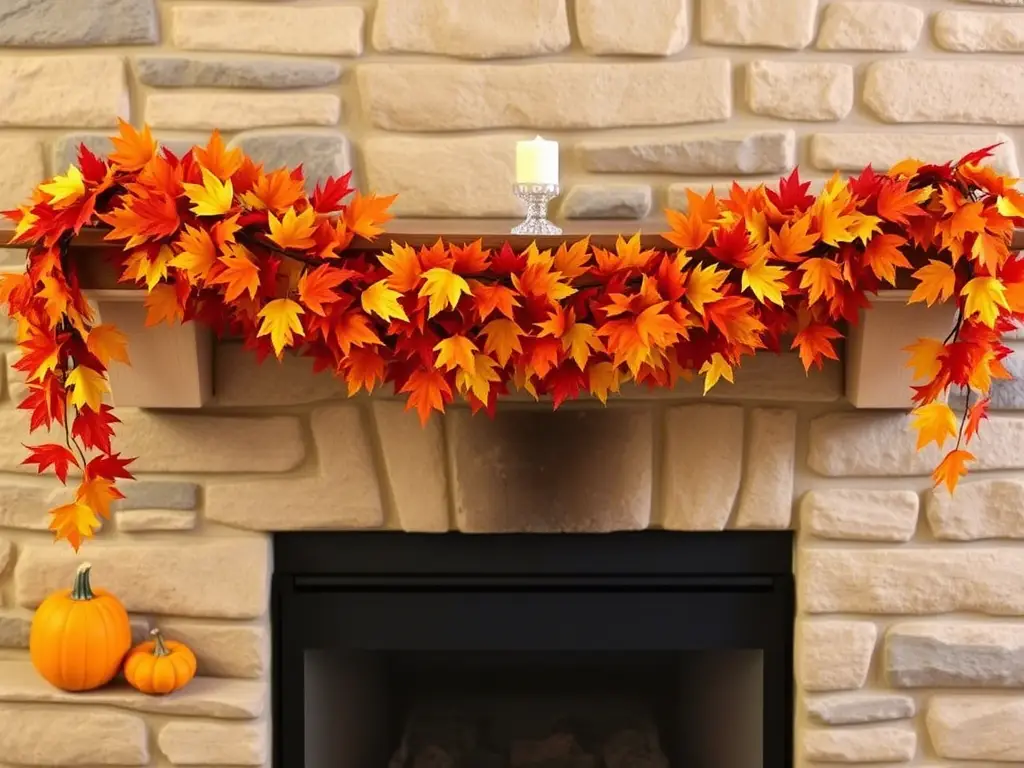
Materials Needed:
- Construction paper or cardstock in fall colors
- Scissors
- Hole punch
- String or twine
Instructions:
- Cut Out Leaves : Use scissors to cut leaf shapes from the construction paper. Aim for a variety of sizes and shapes to mimic real autumn leaves.
- Punch Holes : Punch a hole at the top of each leaf.
- String Them Up : Thread the string through the holes, spacing the leaves evenly. Hang the garland across your mantel, doorway, or window for an instant autumnal touch.
DIY Project 3: Cozy Fabric Pumpkins
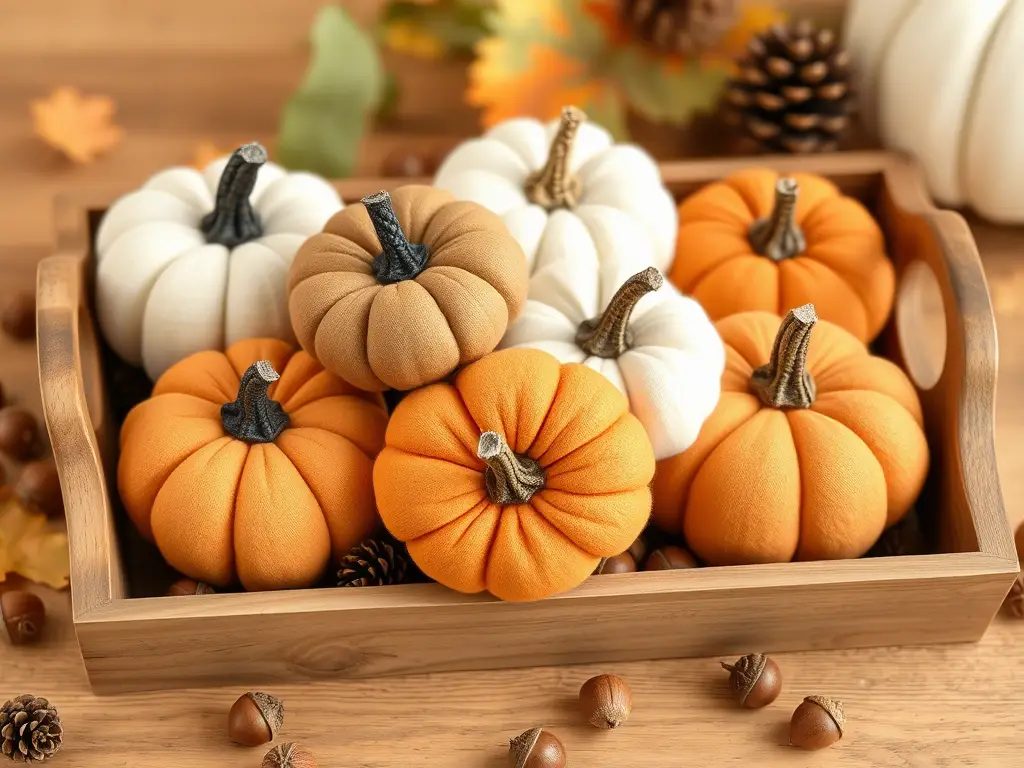
Materials Needed:
- Fabric scraps (burlap, felt, or old sweaters)
- Stuffing material (polyfill or fabric scraps)
- Wooden sticks or cinnamon sticks
- Hot glue gun
Instructions:
- Cut Fabric : Cut fabric into circles of varying sizes. The larger the circle, the bigger the pumpkin.
- Gather Edges : Gather the edges of the fabric circle and secure them with a rubber band or thread.
- Stuff and Shape : Fill the fabric pouch with stuffing until it’s firm but still pliable. Shape it into a pumpkin form.
- Add Stems : Glue a wooden stick or cinnamon stick to the top as the stem. Arrange your fabric pumpkins on a shelf or table for a cozy, homemade look.
DIY Project 4: Fall-Themed Wreath
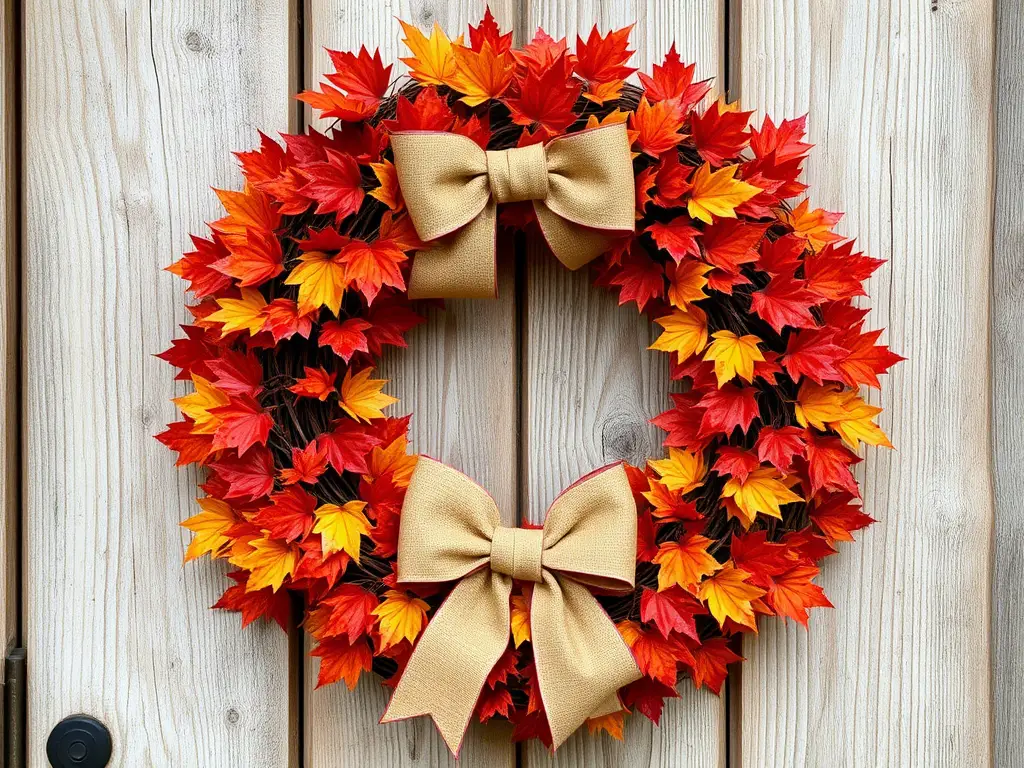
Materials Needed:
- Grapevine wreath base
- Artificial fall foliage (leaves, berries, etc.)
- Ribbon
- Hot glue gun
Instructions:
- Attach Foliage : Begin by attaching artificial leaves and berries to the grapevine wreath using a hot glue gun. Layer them to create depth and texture.
- Add Ribbon : Tie a bow from the ribbon and attach it to the bottom of the wreath for a finishing touch.
- Hang Your Wreath : Use a wreath hanger or nail to display your creation on your front door or above the fireplace.
DIY Project 5: Harvest Table Centerpiece
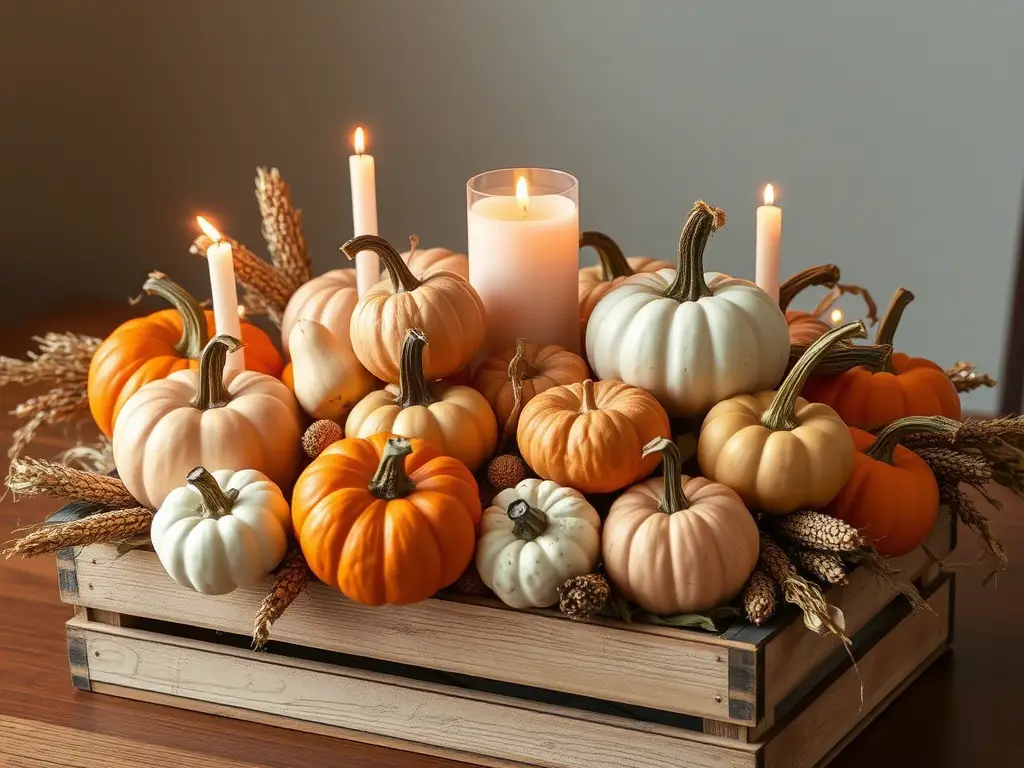
Materials Needed:
- Wooden crate or basket
- Small pumpkins and gourds
- Dried corn stalks or wheat bundles
- Candles or fairy lights
Instructions:
- Arrange Base : Place the wooden crate or basket on your dining table. Fill it with small pumpkins and gourds.
- Add Height : Insert dried corn stalks or wheat bundles into the arrangement to add height and interest.
- Incorporate Lighting : Nestle candles or fairy lights among the pumpkins for a warm, inviting glow during meals.
DIY Project 6: Fall-Themed Pillow Covers
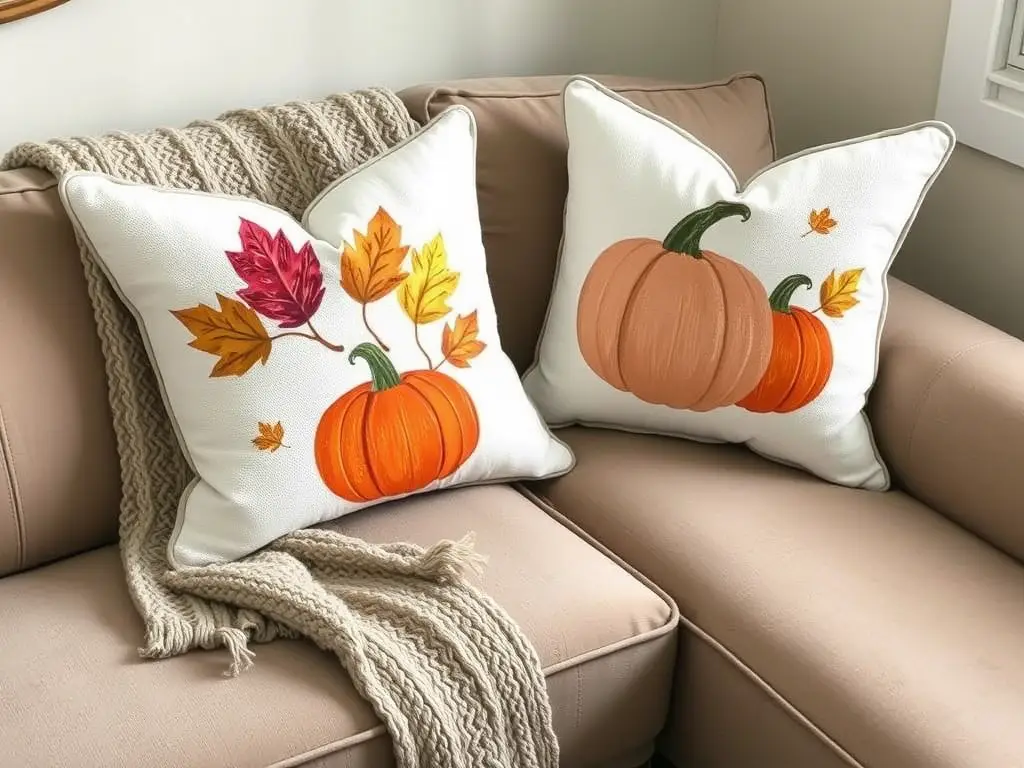
Materials Needed:
- Plain pillow covers (neutral colors like beige, white, or gray)
- Fabric paint or markers
- Stencils (optional, for leaf or pumpkin designs)
- Paintbrushes or sponges
Instructions:
- Choose a Design : Decide on a fall-themed design such as leaves, pumpkins, or even a simple “Hello Fall” message. You can freehand it or use stencils for precision.
- Paint the Design : Use fabric paint to carefully apply your chosen design onto the pillow cover. If using stencils, secure them with tape and dab the paint gently for clean edges.
- Let It Dry : Allow the paint to dry completely before inserting the pillow. For added durability, heat-set the design with an iron according to the paint instructions.
- Style Your Space : Place the finished pillow covers on your couch, bed, or chairs to instantly add warmth and seasonal charm.
DIY Project 7: Floating Candle Lanterns
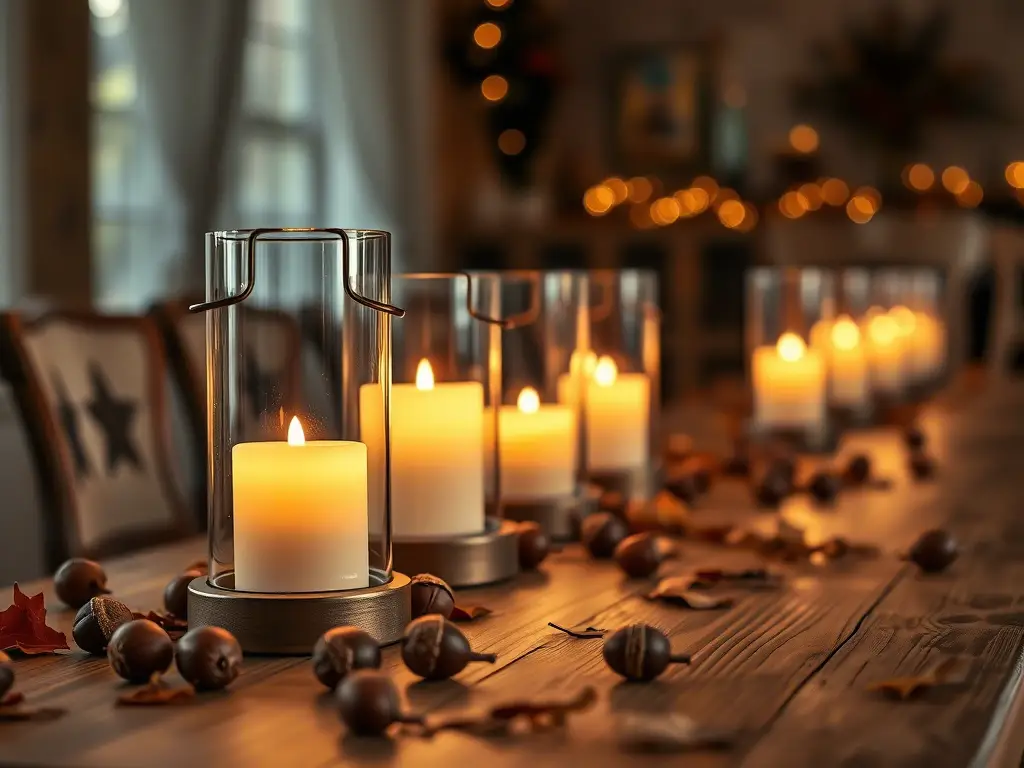
Materials Needed:
- Glass jars or vases of varying sizes
- Tea light candles or floating candles
- Dried flowers, cinnamon sticks, or small pinecones
- Water
Instructions:
- Decorate the Base : Place dried flowers, cinnamon sticks, or pinecones at the bottom of each glass jar or vase.
- Add Water : Fill the container halfway with water. This creates a reflective surface that enhances the glow of the candlelight.
- Insert Candles : Float tea lights or floating candles on the water’s surface. Light them up in the evening for a serene, autumnal ambiance.
- Display Creatively : Arrange the lanterns on your dining table, mantel, or porch steps for a magical touch.
DIY Project 8: Fall-Inspired Wall Art
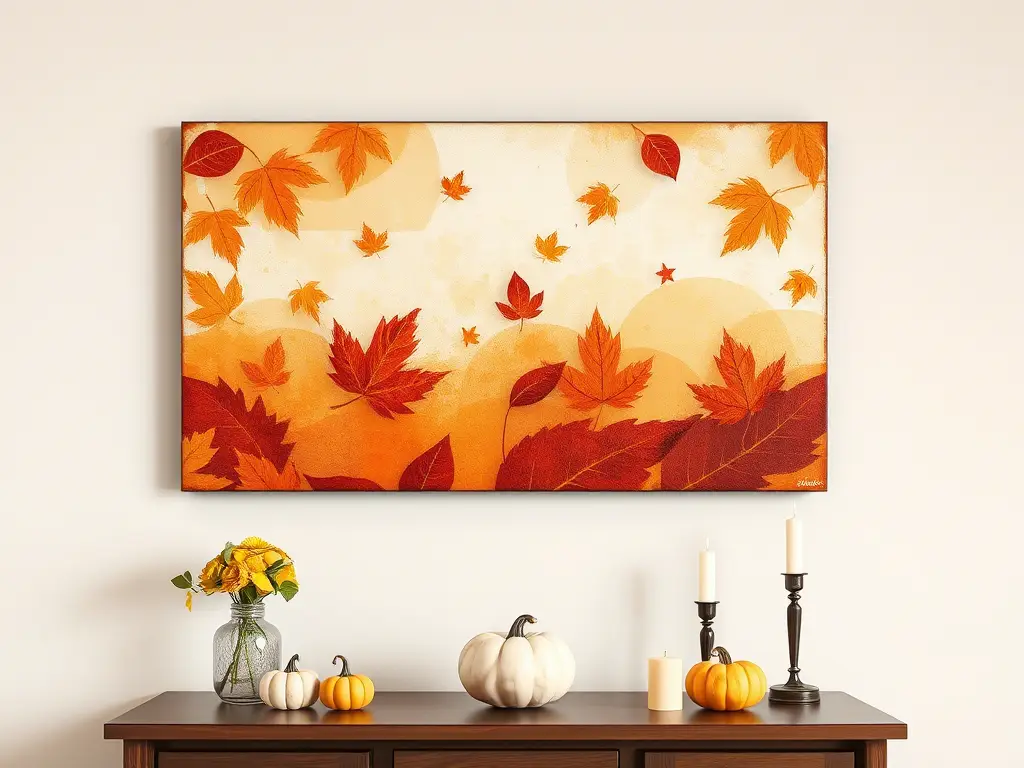
Materials Needed:
- Canvas or wooden board
- Acrylic paints (fall colors)
- Painter’s tape
- Sponge or brush
- Optional: Stencils or stamps
Instructions:
- Prepare the Surface : Use painter’s tape to create geometric patterns or sections on your canvas or wooden board.
- Apply Paint : Dip a sponge or brush into acrylic paint and dab it onto the taped-off areas. Blend shades of orange, red, yellow, and brown to mimic the colors of fall foliage.
- Remove Tape : Once the paint dries, carefully peel off the tape to reveal crisp lines and shapes.
- Optional Embellishments : Add stenciled leaves, stamped designs, or handwritten quotes like “Autumn Blessings” for extra flair.
- Hang Your Art : Display your masterpiece on a blank wall or lean it against a shelf for a rustic touch.
DIY Project 9: Pinecone Fire Starters
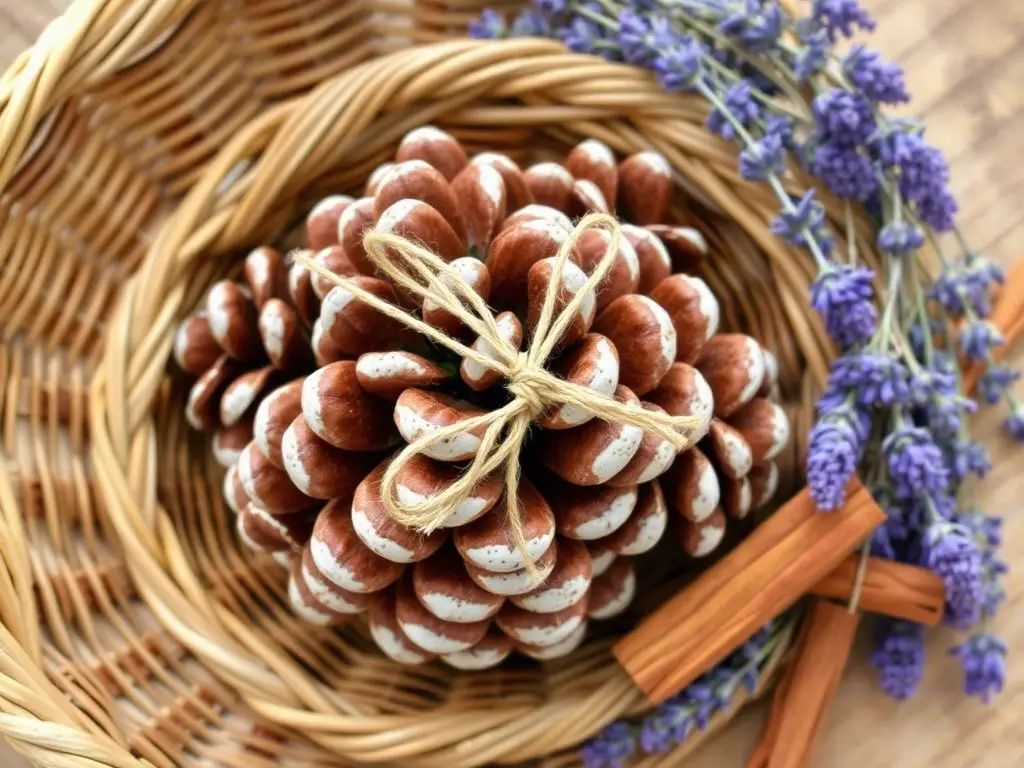
Materials Needed:
- Pinecones (collected outdoors or purchased)
- Paraffin wax or old candle wax
- Essential oils (cinnamon, clove, or orange for a festive scent)
- Twine or ribbon
- Muffin tin or baking sheet
Instructions:
- Melt the Wax : In a double boiler, melt paraffin wax or leftover candle wax. Stir in a few drops of essential oil for fragrance.
- Dip the Pinecones : Holding each pinecone by its stem, dip it into the melted wax until fully coated. Shake off any excess wax.
- Cool and Harden : Place the dipped pinecones on a muffin tin or baking sheet lined with parchment paper. Allow them to cool and harden completely.
- Add Finishing Touches : Tie twine or ribbon around the base of each pinecone for decoration.
- Use or Gift : These fire starters are perfect for lighting fires in your fireplace or outdoor fire pit. They also make thoughtful gifts when packaged in a pretty box or basket.
DIY Project 10: Autumn-Themed Door Hanger

Materials Needed:
- Wooden cutout shape (e.g., a pumpkin, leaf, or circle)
- Acrylic paint
- Paintbrushes
- Ribbon or rope for hanging
- Optional: Glitter, sequins, or other embellishments
Instructions:
- Paint the Base : Choose a fall color palette and paint the wooden cutout. You can opt for solid colors or experiment with gradients and patterns.
- Personalize : Write a seasonal message like “Welcome Fall” or “Happy Harvest” using a fine brush or stencil. Alternatively, glue on embellishments like glitter or sequins for added sparkle.
- Attach Hanging Rope : Drill two small holes at the top of the cutout and thread ribbon or rope through them to create a hanger.
- Hang It Up : Attach your door hanger to your front door, closet door, or even a bedroom wall for a cheerful autumn greeting.
Tips for Styling Your DIY Fall Decor
- Create Focal Points : Arrange your DIY projects strategically to draw attention to key areas like the entryway, dining table, or living room mantle.
- Layer Textures : Combine soft textiles like blankets and rugs with harder elements like wood and metal for a balanced look.
- Incorporate Scents : Pair your decor with seasonal scents like cinnamon, apple cider, or vanilla to enhance the sensory experience of fall.
- Repurpose Old Items : Don’t be afraid to upcycle old items—turn mason jars into vases, transform sweaters into pillow covers, or reuse wine bottles as candle holders.
You Might Also Like:
- Simple Wall Painting Ideas: Transform Your Home in Minutes!
- Upcycling Furniture 101: Easy DIY Ideas for Beginners
- 10 Creative Ways to Upcycle Old Furniture on a Budget
Frequently Asked Questions (FAQs)
How can I make my DIY fall decor last longer?
To ensure longevity, use durable materials and sealants where possible. Store delicate items carefully after the season ends to prevent damage.
Can I use real leaves in my decor?
Yes, but they may dry out and crumble over time. Consider pressing them between wax paper or laminating them to preserve their beauty.
What if I don’t have access to certain materials?
Get creative! Substitute unavailable materials with similar alternatives. For instance, use colored paper instead of fabric or repurpose old items for new purposes.
Are there any safety concerns with DIY fall decor?
Always prioritize safety, especially when using candles or electrical components. Ensure all flammable materials are kept away from open flames and check wiring regularly for any signs of wear.