Are you tired of cluttered closets and struggling to find space for your belongings? Do you want an affordable, creative, and customizable solution that fits your needs perfectly? Look no further than PVC pipe! Yes, those humble white tubes used in plumbing can be transformed into a stunning DIY closet organizer. In this article, we’ll guide you step-by-step on how to create your own PVC pipe closet organizer, share some clever storage hacks, and answer all your burning questions about this budget-friendly project.
Why Choose PVC Pipes for Your Closet Organizer?
Before diving into the “how,” let’s talk about the “why.” PVC (polyvinyl chloride) pipes are incredibly versatile, lightweight, durable, and inexpensive—making them ideal for crafting projects like this one. Unlike traditional wooden or metal organizers, PVC pipes offer flexibility in design and require minimal tools or expertise to assemble. Plus, they’re easy to clean, moisture-resistant, and available at any hardware store.
Whether you live in a small apartment or have a spacious walk-in closet, PVC pipes allow you to maximize vertical space without breaking the bank. With endless possibilities for customization, you can tailor your organizer to suit your wardrobe, shoes, accessories, or even cleaning supplies.
Materials You’ll Need
To get started with your PVC pipe DIY closet organizer, gather the following materials:
- PVC Pipes: Available in various diameters (½ inch to 2 inches). For most closet projects, 1-inch diameter works well.
- PVC Connectors: Elbows, T-joints, cross joints, caps, etc., depending on your design.
- PVC Cement: Optional but recommended for permanent setups.
- Measuring Tape & Marker
- Hacksaw or PVC Cutter
- Sandpaper: To smooth rough edges after cutting.
- Spray Paint or Adhesive Shelf Liner: If you want to add color or texture.
- Hooks, Baskets, or Fabric Bins: For additional functionality.
- Wall Anchors & Screws: To secure the structure if mounting it to the wall.
Pro Tip: Before purchasing materials, sketch out your design to determine the exact lengths and types of connectors needed.
Step-by-Step Guide to Building Your PVC Closet Organizer
Step 1: Plan Your Design
Start by assessing your closet space and identifying what you need to organize. Will it hold clothes, shoes, bags, or something else? Sketch a simple blueprint of your desired layout. Popular designs include:
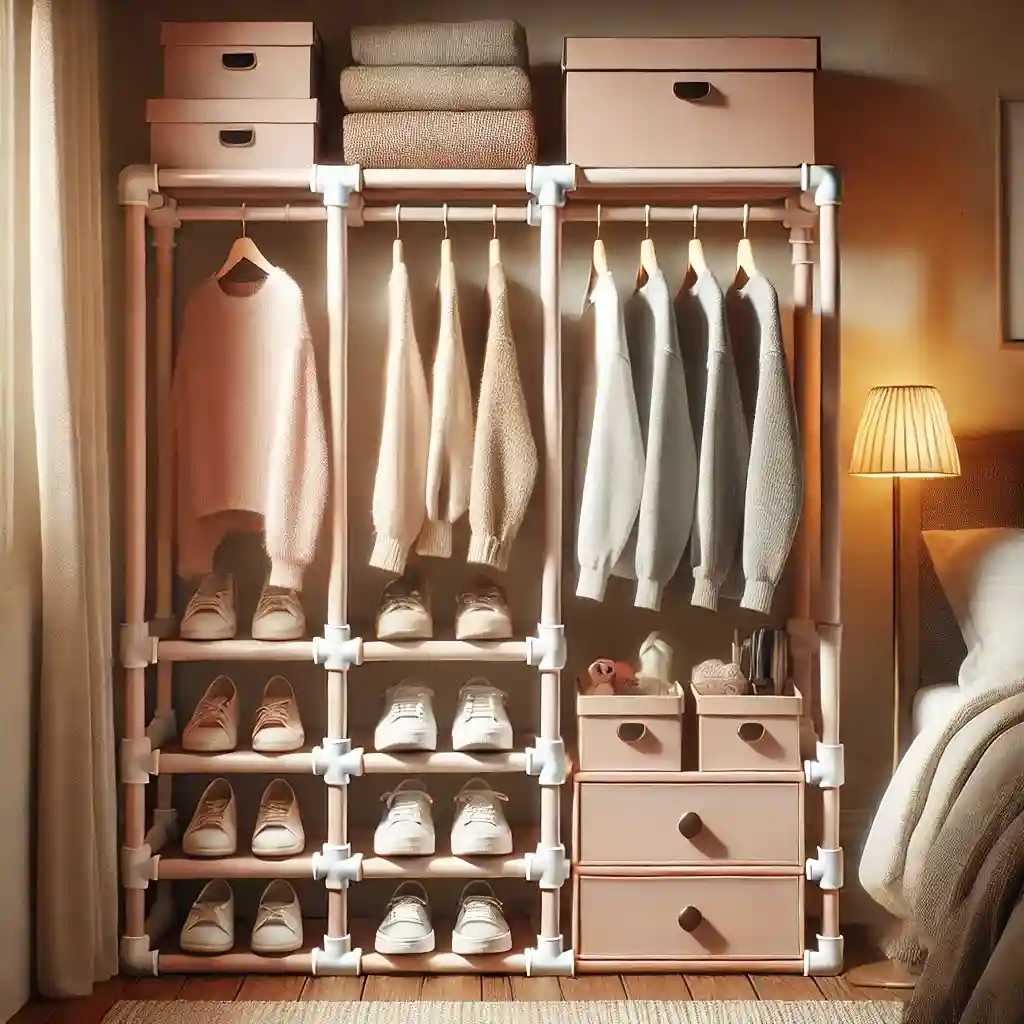
- Vertical shoe racks
- Hanging rod systems
- Tiered shelving units
- Accessory holders (for scarves, belts, ties)
For example, a basic shoe rack might consist of horizontal bars supported by vertical legs, while a hanging rod system would involve creating a frame with hooks attached.
Step 2: Cut the PVC Pipes
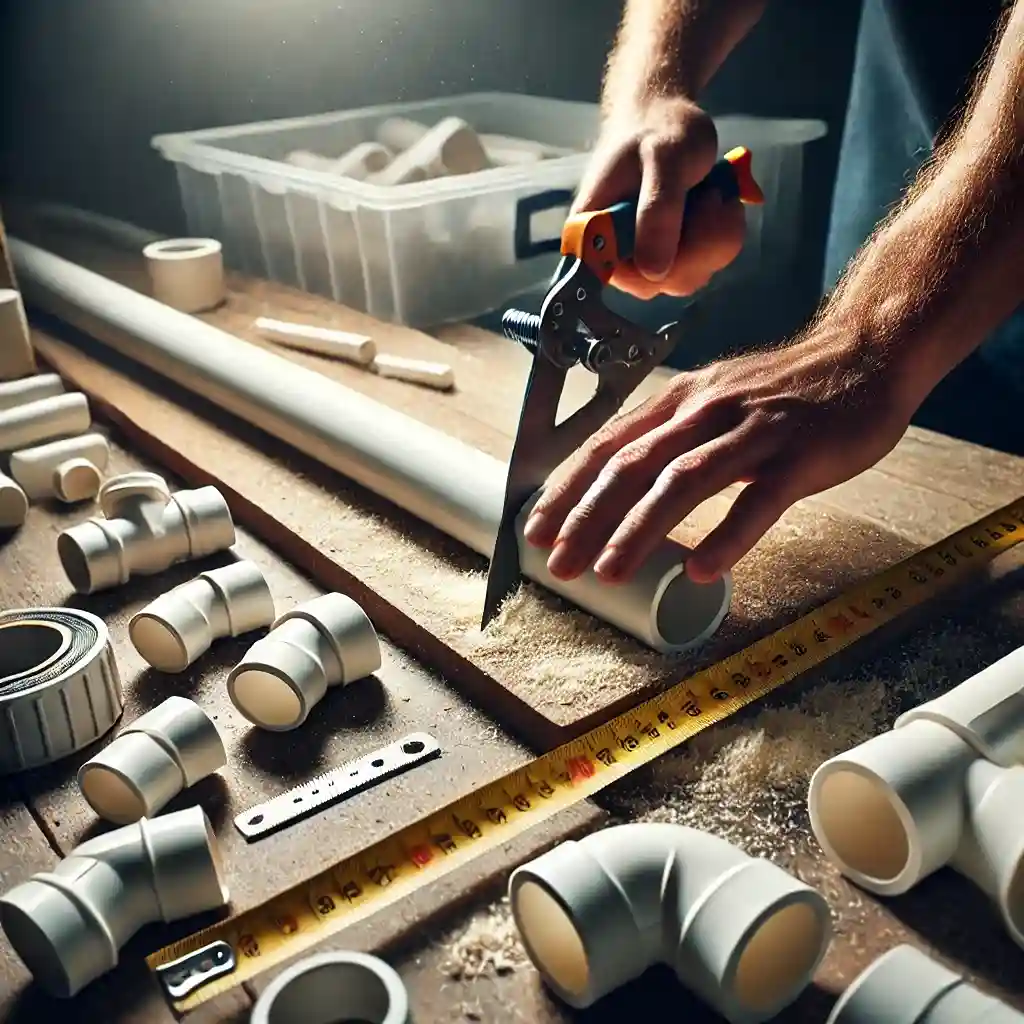
Using a hacksaw or PVC cutter, cut the pipes according to your measurements. Double-check each piece against your blueprint to ensure accuracy. Once cut, use sandpaper to smooth any sharp edges.

Step 3: Assemble the Frame
Dry-fit the pieces together first to test the stability of your design. Use elbows, T-joints, and cross joints to connect the pipes as per your plan. This is where creativity shines—you can adjust angles and heights as needed.
If you’re happy with the fit, apply PVC cement to the joints for a more secure connection. Allow the adhesive to dry completely before proceeding.
Step 4: Customize the Look
While plain white PVC has its charm, adding a pop of color can elevate your organizer’s aesthetic. Spray paint the entire structure or wrap sections with adhesive shelf liner for a textured finish. Pastel shades, metallic tones, or bold hues can complement your closet decor beautifully.

Step 5: Install Hooks, Baskets, or Rods
Depending on your design, attach hooks for hanging items, baskets for smaller objects, or fabric bins for concealed storage. For a hanging rod system, thread a sturdy dowel through two parallel pipes and secure it with end caps.
Step 6: Mount or Place the Organizer
Decide whether you want your organizer freestanding or mounted to the wall. Freestanding designs are great for renters or those who prefer flexibility, while wall-mounted options save floor space and provide extra stability.
Use wall anchors and screws to anchor the base securely if opting for a mounted setup. Ensure the weight distribution is balanced to prevent tipping.
Clever Storage Hacks Using PVC Pipes
Once you’ve mastered the basics, here are some innovative ways to expand your PVC pipe organizer:
- Shoe Cubby: Create individual cubbies for each pair of shoes by attaching short horizontal pipes between vertical supports.
- Scarf Holder: Drill holes along a long horizontal pipe and hang scarves from hooks inserted into these holes.
- Belt Rack: Attach S-hooks to a horizontal bar for easy belt organization.
- Jewelry Display: Build a grid-like structure and drape necklaces or bracelets over the pipes.
- Cleaning Supply Station: Add hooks for mops and brooms, plus shelves for spray bottles and sponges.
Benefits of a PVC Pipe Closet Organizer
- Cost-Effective: PVC pipes cost significantly less than pre-made organizers.
- Customizable: Tailor the size, shape, and style to match your specific needs.
- Eco-Friendly: Repurpose existing materials or recycle old PVC pipes.
- Space-Saving: Utilize vertical space efficiently, leaving more room for movement.
- Durable: Resists wear and tear, ensuring longevity.
Conclusion
Transforming PVC pipes into a functional and stylish closet organizer is easier than you think—and it won’t break the bank. By following our step-by-step guide and incorporating clever storage hacks, you can declutter your space and enjoy a personalized solution tailored to your lifestyle. So grab your tools, unleash your creativity, and embark on this rewarding DIY journey today!
Remember, the key to success lies in planning, patience, and a dash of imagination. Happy organizing!
Also Read:
- PVC Pipe DIY Closet Organizer: Budget-Friendly Storage Hacks
- 10 Easy DIY Furniture Ideas for Beginners
FAQ’s
-
Is it safe to mount a PVC pipe organizer on the wall?
Yes, as long as you use proper wall anchors and distribute the weight evenly. Avoid overloading the structure with heavy items unless reinforced.
-
Can I paint PVC pipes?
Absolutely! Use spray paint designed for plastics or acrylic paints for best results. Apply primer beforehand for better adhesion.
-
How do I clean my PVC pipe organizer?
Wipe down the surface with a damp cloth and mild soap. Avoid abrasive cleaners that could scratch the material.