Have you ever looked at an old piece of furniture and thought, “This has potential!”? That’s the spirit of upcycling! Upcycling is more than just a trend; it’s a way to give unloved or outdated items a new lease on life, save money, and reduce waste. In this guide, we’ll explore the world of Upcycling Furniture, providing easy DIY ideas for beginners to transform tired pieces into unique treasures.
Why Upcycle Furniture?
- Sustainability: Upcycling reduces waste by repurposing old furniture instead of throwing it away. This helps to conserve resources and reduce landfill waste.
- Uniqueness: Upcycling allows you to create one-of-a-kind pieces that reflect your personal style. You can customize furniture to match your home decor and create a unique look.
- Cost-Effectiveness: Upcycling is often cheaper than buying new furniture. You can find old furniture at thrift stores, garage sales, or even for free, and then transform it into something beautiful.
- Creativity: Upcycling is a fun and creative way to express yourself. It allows you to experiment with different colors, textures, and techniques to create something truly special.
Getting Started: Essential Tools and Materials
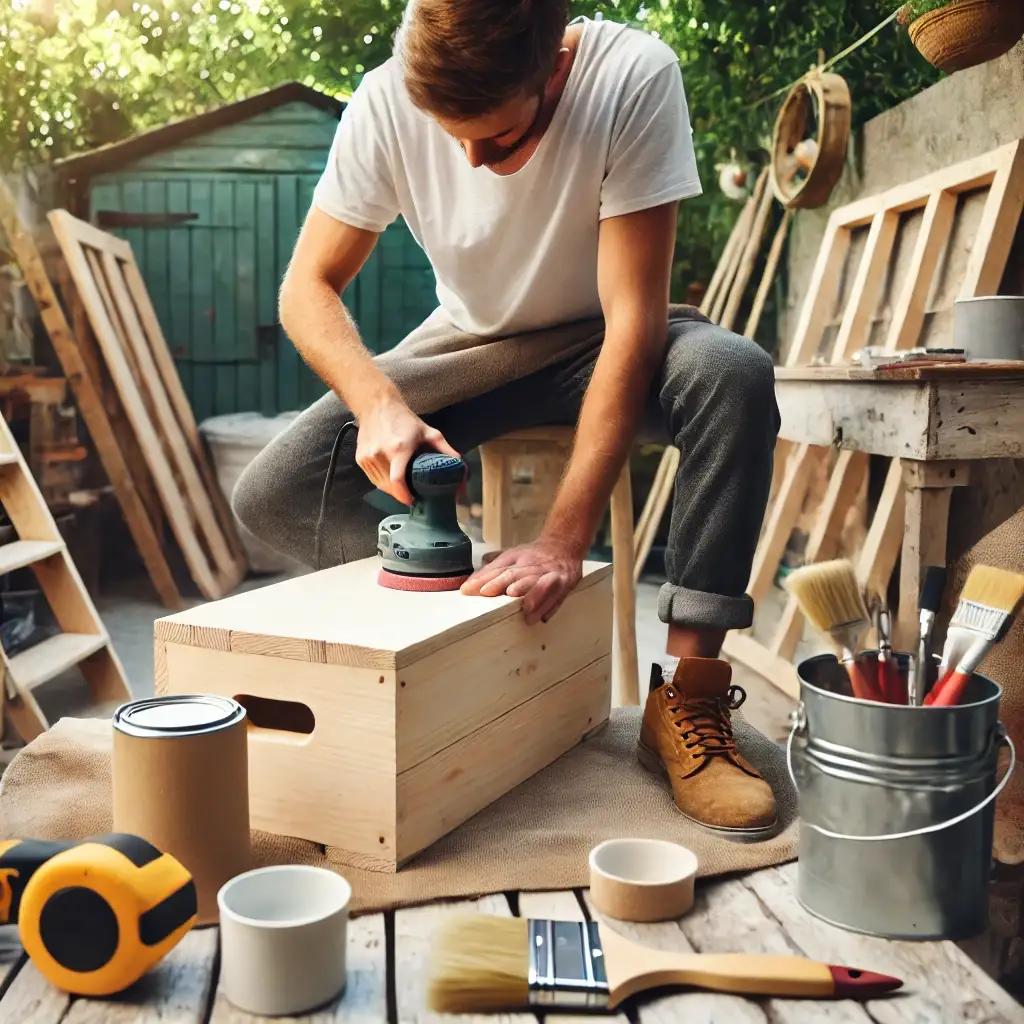
Before you start your upcycling journey, it’s essential to gather the necessary tools and materials. Here’s a list of basics:
Cleaning Supplies:
- Soap and water: For general cleaning.
- Degreaser: To remove grease and grime.
- Sugar soap: For a more thorough cleaning.
Sandpaper:
- Various grits: For smoothing surfaces and preparing them for painting.
- Sanding block or flexible sanding pad: To make sanding easier.
- Painting Supplies:
- Chalk paint: A popular choice for upcycling due to its ease of use and versatility.
- Primer: To improve paint adhesion and prevent bleed-through.
- Paintbrushes: A variety of sizes for different tasks.
- Paint rollers: For painting large surfaces.
- Paint trays: To hold paint while you work.
Sealing and Finishing:
- Wax: To seal and protect painted surfaces.
- Varnish: For a more durable finish.
- Polyurethane: For protecting surfaces from moisture and wear.
- Hardware:
- Screwdrivers: For removing and installing hardware.
- Pliers: For gripping and bending hardware.
- New knobs, pulls, and handles: To update the look of your furniture.
Other Useful Tools:
- Drop cloths: To protect your work area.
- Painter’s tape: To create clean lines.
- Safety glasses: To protect your eyes.
- Gloves: To protect your hands.
- Dust mask: To protect your lungs.
- Screwdriver: For removing hardware.
Preparation is Key Setting the Stage for Upcycling Success.
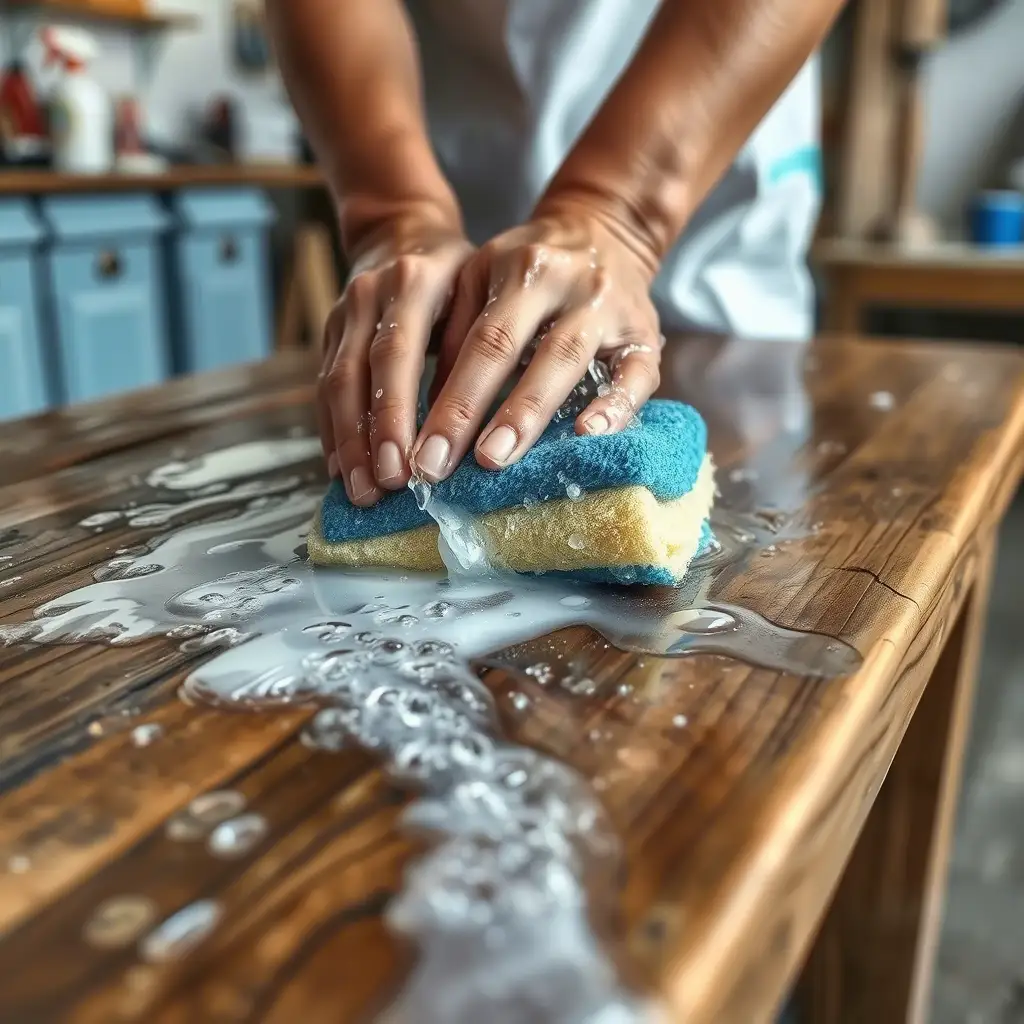
Proper preparation is crucial for a successful upcycling project. Here’s a step-by-step guide to preparing your furniture:
- Cleaning:
- Remove dust and dirt: Wipe down the furniture with a damp cloth to remove any loose dirt or dust.
- Wash with soap and water: Use a mild soap and water solution to clean the surface thoroughly.
- Remove grease and grime: Use a degreaser to remove any grease or grime.
- Rinse and dry: Rinse the furniture with clean water and allow it to dry completely.
- Sanding:
- Assess the surface: Determine if sanding is necessary. If the surface is smooth and in good condition, you may not need to sand.
- Sand rough surfaces: Use sandpaper to smooth out any rough surfaces or imperfections.
- Key the surface: Lightly sand the surface to create a key for the paint to adhere to.
- Remove sanding dust: Wipe down the furniture with a tack cloth to remove any sanding dust.
- Repairs:
- Assess for damage: Check the furniture for any damage, such as loose joints, cracks, or missing pieces.
- Repair loose joints: Tighten any loose joints with wood glue and clamps.
- Fill cracks and holes: Use wood filler to fill any cracks or holes.
- Replace missing pieces: Replace any missing pieces with new wood or salvaged parts.
- Priming:
- Apply primer: Apply a coat of primer to the furniture to improve paint adhesion and prevent bleed-through.
- Allow to dry: Allow the primer to dry completely before painting.
Upcycling Techniques: Easy DIY Ideas
Now that your furniture is prepped and ready, it’s time to get creative! Here are some easy DIY upcycling ideas for beginners:
Chalk Painting
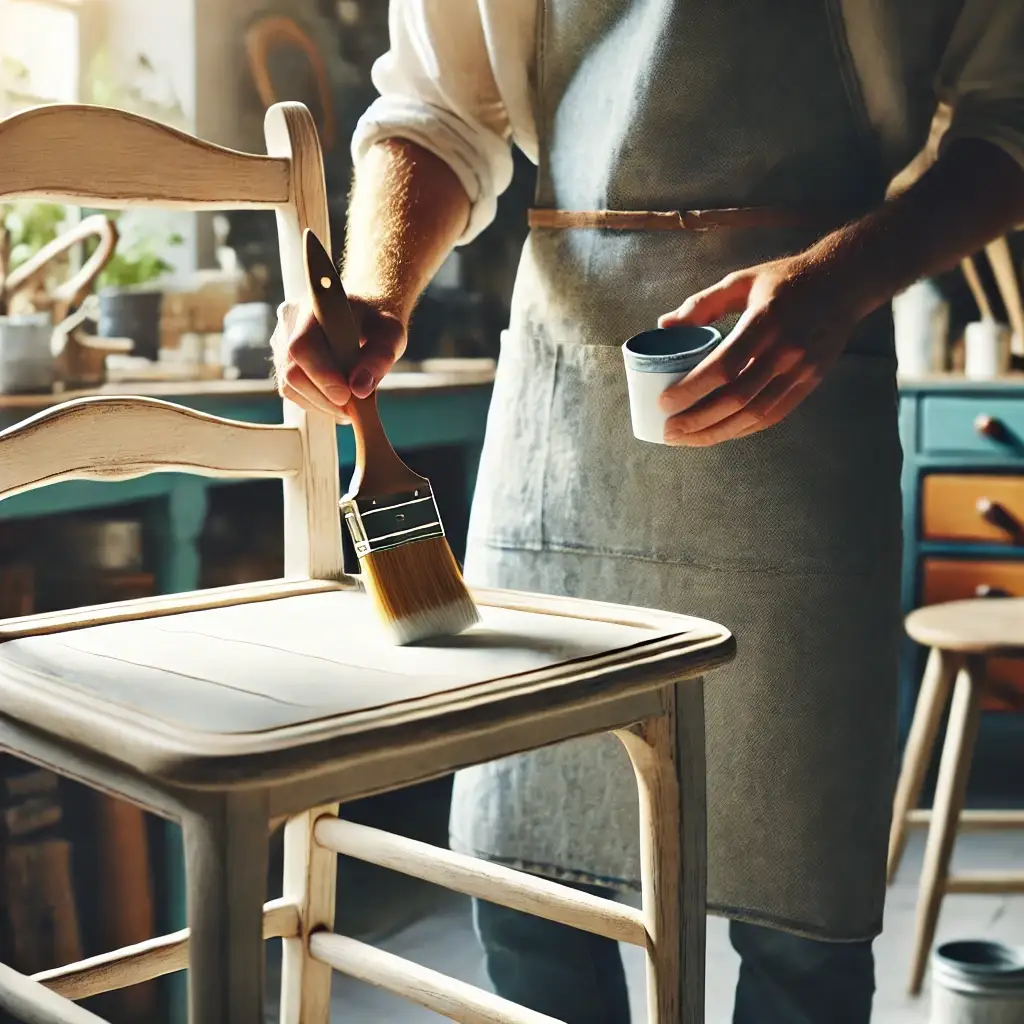
Chalk paint is a popular choice for upcycling because it requires minimal prep work and provides a matte finish that’s easy to distress.
How-To:
- Apply chalk paint: Apply one or two coats of chalk paint to the furniture, allowing each coat to dry completely.
- Distress (optional): Use sandpaper to distress the edges and details of the furniture for a vintage look.
- Seal with wax: Apply a coat of wax to seal and protect the painted surface.
- Buff to a shine: Buff the wax with a soft cloth to create a subtle shine.
Stenciling
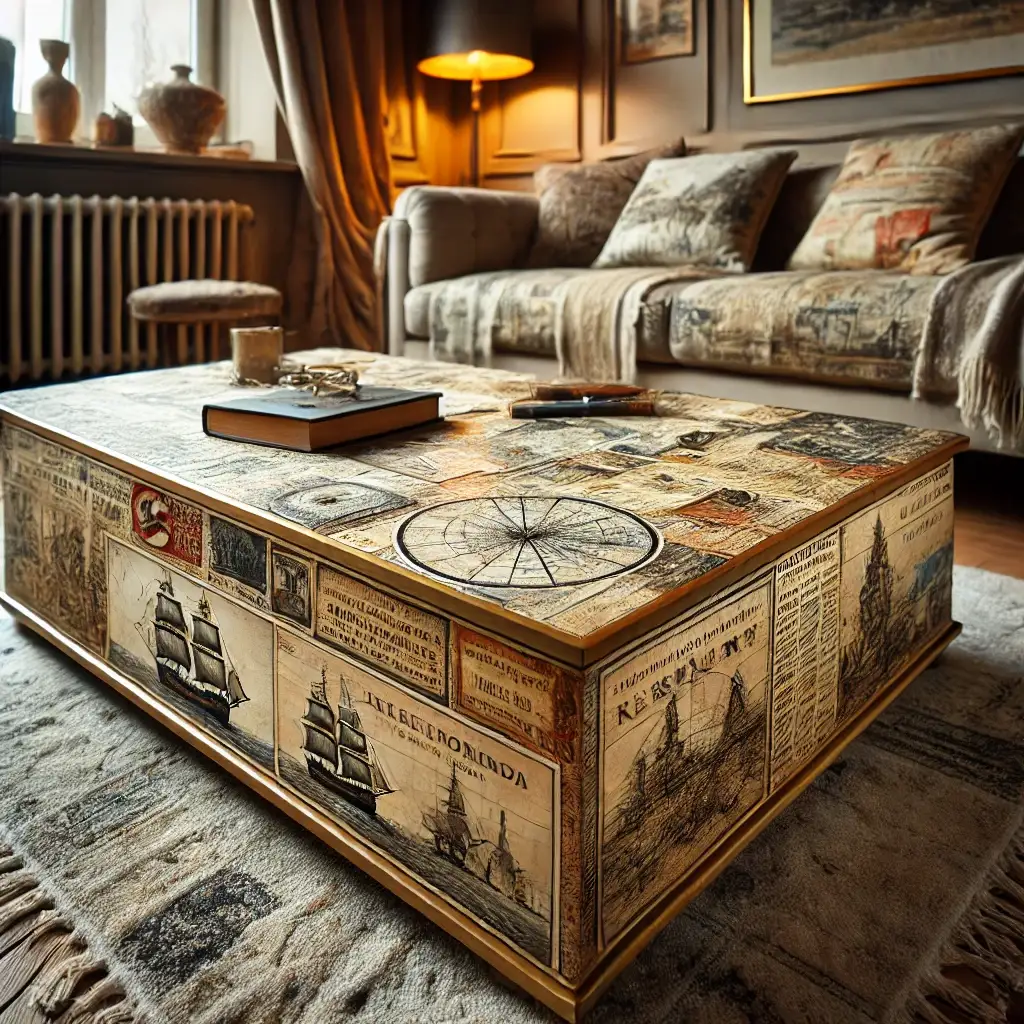
Stenciling is a simple way to add patterns and designs to your upcycled furniture.
How-To:
- Choose a stencil: Select a stencil with a design that you like.
- Position the stencil: Place the stencil on the furniture and secure it with painter’s tape.
- Apply paint: Use a stencil brush or sponge to apply paint to the stencil.
- Remove the stencil: Carefully remove the stencil and allow the paint to dry.
Decoupage
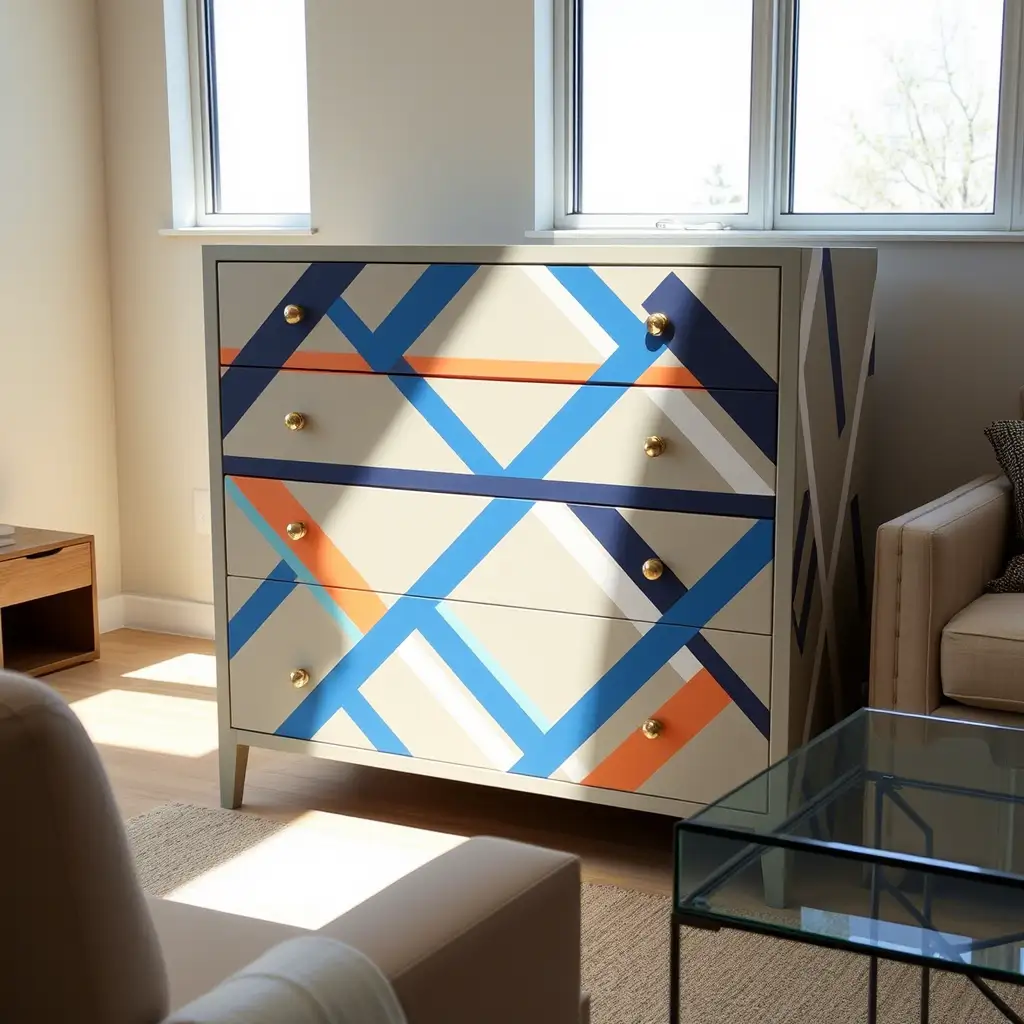
Decoupage is the art of decorating objects with paper cutouts. It’s a great way to add visual interest and personality to your upcycled furniture.
How-To:
- Gather paper cutouts: Collect paper cutouts from magazines, newspapers, or decorative paper.
- Apply adhesive: Apply a thin layer of decoupage adhesive to the furniture.
- Arrange cutouts: Arrange the paper cutouts on the furniture, overlapping them as desired.
- Seal with adhesive: Apply a topcoat of decoupage adhesive to seal the cutouts and protect them from damage.
Fabric Upholstery
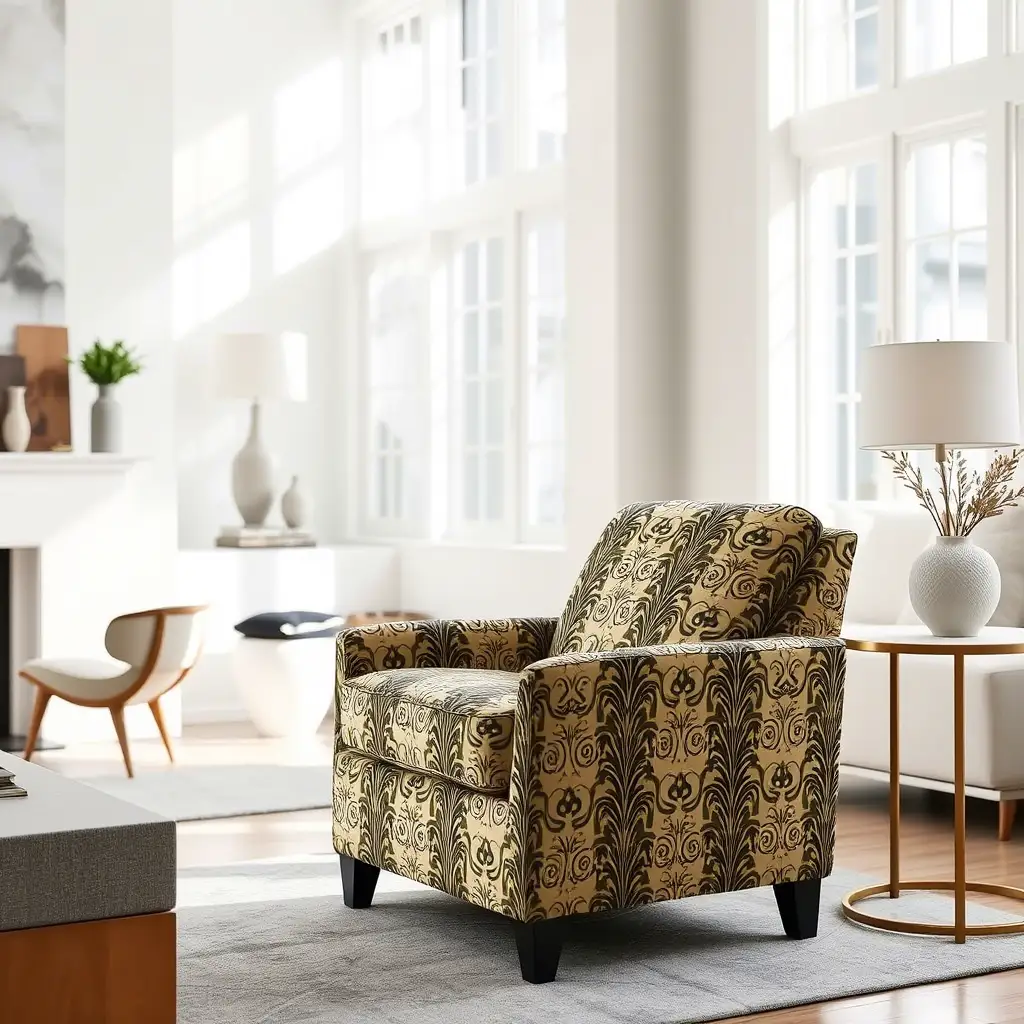
Give your old chairs and benches a makeover with new fabric upholstery.
How-To:
- Remove old fabric: Remove the old fabric from the furniture.
- Cut new fabric: Cut the new fabric to the same size and shape as the old fabric.
- Attach fabric: Attach the new fabric to the furniture using a staple gun or upholstery tacks.
Hardware Updates
Replacing old hardware with new knobs, pulls, and handles can instantly update the look of your furniture.
How-To:
- Remove old hardware: Remove the old knobs, pulls, and handles from the furniture.
- Install new hardware: Install the new hardware in the same holes or drill new holes if necessary.
Upcycling Project Ideas
- Transform a Dresser into a TV Stand: Remove the top drawers of an old dresser and create shelves for your TV and media components. Paint or stain the dresser to match your decor.
Realistic Image Prompt: A repurposed dresser turned TV stand in a contemporary living room. The dresser is painted in a dark, moody color and features open shelves for media components. - Turn a Headboard into a Bench: Repurpose an old headboard into a stylish bench for your entryway or garden. Add legs and a seat to complete the transformation.
Realistic Image Prompt: A headboard bench in a rustic garden setting. The bench is painted in a weathered finish and adorned with cushions and plants. - Convert a Cabinet into a Bar: Turn an old cabinet into a bar for your living room or dining room. Add shelves for bottles and glasses, and a countertop for mixing drinks.
Realistic Image Prompt: A converted cabinet bar in a sophisticated dining room. The cabinet is painted in a rich color and features a mirrored back and elegant barware. - Repurpose Pallets into Coffee Table: Use wooden pallets to create a rustic coffee table for your living room. Sand and seal the pallets, and add legs or casters for mobility.
Realistic Image Prompt: A pallet coffee table in a bohemian-style living room. The table is made from reclaimed wood and features a glass top and industrial-style legs. - Create a Bookshelf from Old Drawers: Stack old drawers on top of each other to create a unique bookshelf. Paint or stain the drawers to match your decor.
Realistic Image Prompt: A bookshelf made from stacked drawers in a colorful children’s room. The drawers are painted in various bright colors and filled with books and toys.
Tips for Successful Upcycling
- Start Small: Begin with simple projects to build your confidence and skills.
- Plan Ahead: Envision the finished product before you start. This will help you choose the right materials and techniques.
- Take Your Time: Don’t rush the process. Allow yourself plenty of time to complete each step.
- Be Creative: Don’t be afraid to experiment with different colors, textures, and techniques.
- Have Fun: Upcycling should be an enjoyable and rewarding experience.
You Might Also Like:
- 10 Creative Ways to Upcycle Old Furniture on a Budget
- PVC Pipe DIY Closet Organizer: Budget-Friendly Storage Hacks
- 10 Easy DIY Furniture Ideas for Beginners
FAQ’s
What is the best paint to use for upcycling furniture?
Chalk paint is a popular choice for upcycling furniture because it requires minimal prep work, adheres well to most surfaces, and provides a matte finish that is easy to distress. Other options include latex paint, acrylic paint, and milk paint.
Do I need to sand furniture before painting?
It depends on the surface of the furniture. If the surface is smooth and in good condition, you may not need to sand. However, if the surface is rough, glossy, or has imperfections, sanding is recommended to create a key for the paint to adhere to.
How do I distress furniture for a vintage look?
Use sandpaper to distress the edges and details of the furniture after painting. You can also use a dry brush technique to add texture and depth.
How do I seal and protect upcycled furniture?
Apply a coat of wax, varnish, or polyurethane to seal and protect the painted surface. Wax provides a soft, matte finish, while varnish and polyurethane offer a more durable finish.